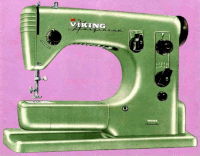
The Supernova is probably the most overlooked and undervalued vintage sewing machine. The Supernovas made in Italy between the 1940s and the late '60s are not only the best Necchis ever made, but one of the best sewing machines ever made, in my opinion.
Necchi discontinued the Supernova in 1971. The most desired version is the Julia, or model 534. This came with a white vinyl accessory box. Other versions had a hard plastic box with a built-in dial for assisting with stitch selection. Most were flat bed machines, but a free arm version does exist. It is quite scarce (especially in Australia) but I have one but don't go out of your way to buy one: It is definitely not nearly as well designed as the flat bed version. The Automatica was made from 1955-1958, Ultra/Ultra II from 1958-1963, and Julia (534) from 1961-1971. Several models were imported as parts and assembled in Australia. The cams are all interchangeable except the Julia series, which had their own, and aren't compatible with anything else.
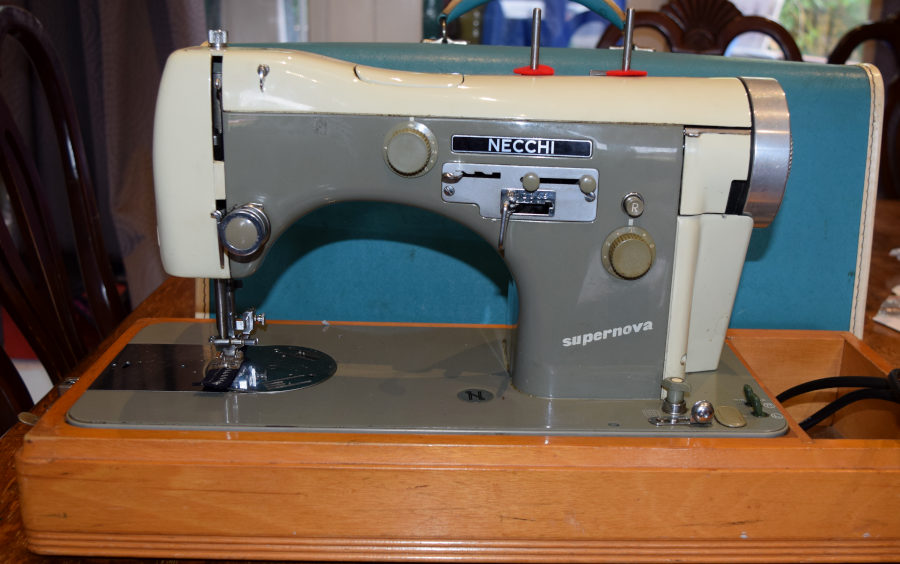
Here are some of the reasons why it's easy to love a Supernova. They are:
They resemble the Berninas of the time but with the added embroidery, buttonhole, high shank presser and several other features (e.g. some have automatic needle threading).
Seems too good to be true, right? Right. Here are some of the reasons they're usually very cheap:
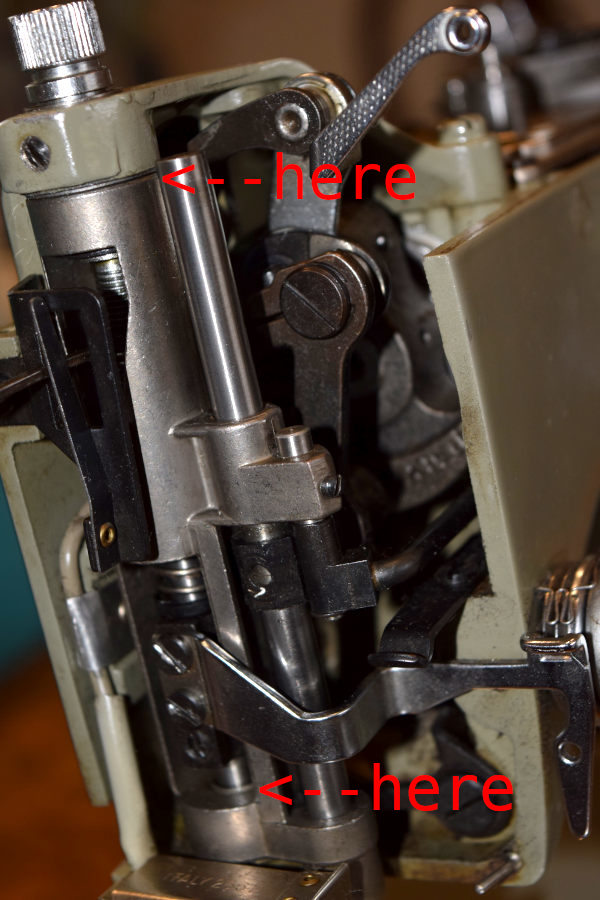
Clearly there is little that can be done about the weight, but the other problems can be solved. The Seizing is the hardest problem to overcome. Here are the problem areas and some tips. I use a 50:50 solution of mineral turpentine and methylated spirits in a jar to dissolve most dried gunk, and just methylated spirits if I need to use a spray bottle (turps doesn't spray well at all). It was (and still is with some) common for sewing machine mechanics to use WD-40 on sewing machines to free them up. WD-40 should never be used on a sewing machine because some of the component chemicals don't evaporate, instead becoming very thick and sticky. This has been the primary cause of a lot of problems with some of my customers' machines. Use a toothbrush and the solvent to scrub at the gunk and lubricate with clean oil afterwards.
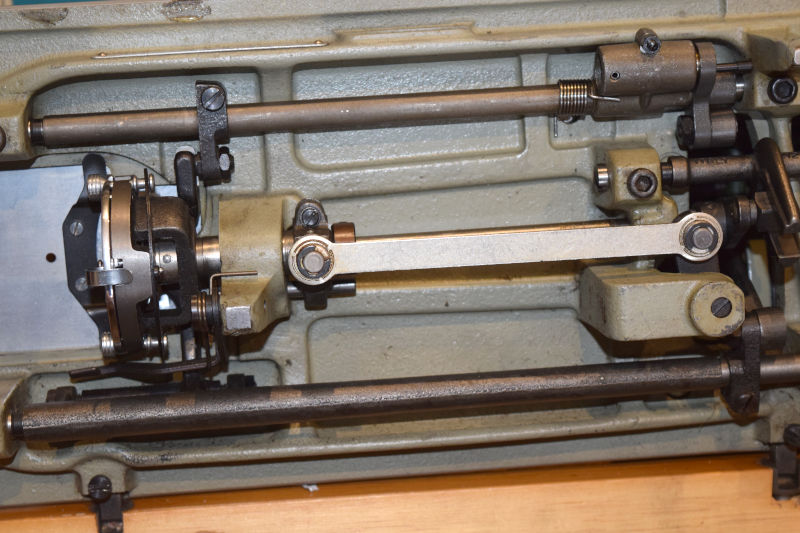
Now comes the hand wheel which is in two parts. When siezed, everything is usually very much stuck in place, meaning you can't remove the whole thing or separate them. You will need a lot of patience with this one, and possibly a couple of home-made tools. I use a home-made tool to force the hand wheel from the machine and from that point separating the component parts is much easier.
The tool is made from an old steel stop motion screw with a large hole drilled and tapped in the centre so that a bolt can be threaded into it (best to use a lathe to do this or the hole won't be centred).
To use it, replace the original stop motion screw with the tool and extract the hand wheel by winding the bolt into the centre. It should come out pretty easily with the even force of the bolt. After you have extracted the hand wheel, it must easily separate. If it doesn't, you need to get it apart and thoroughly clean the components so that it won't happen again.
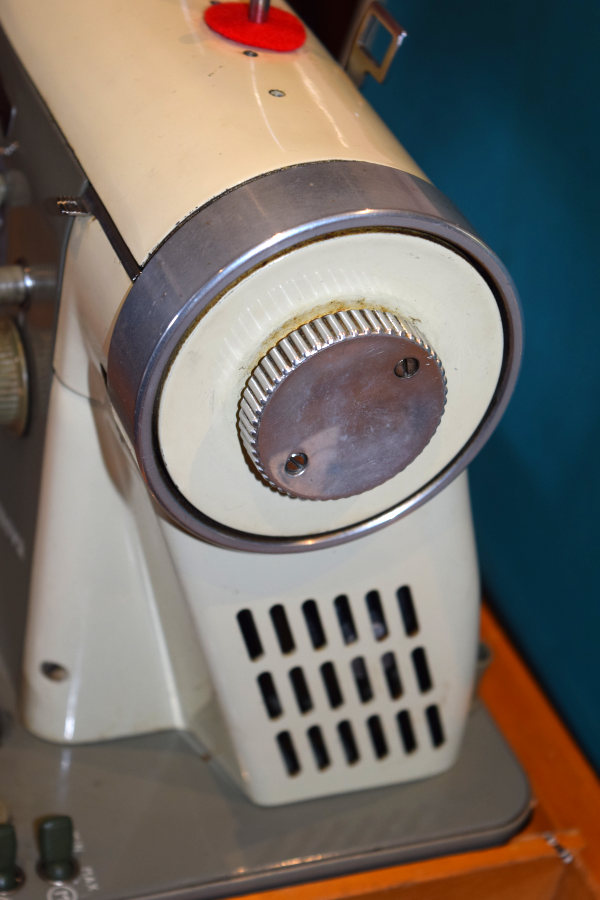
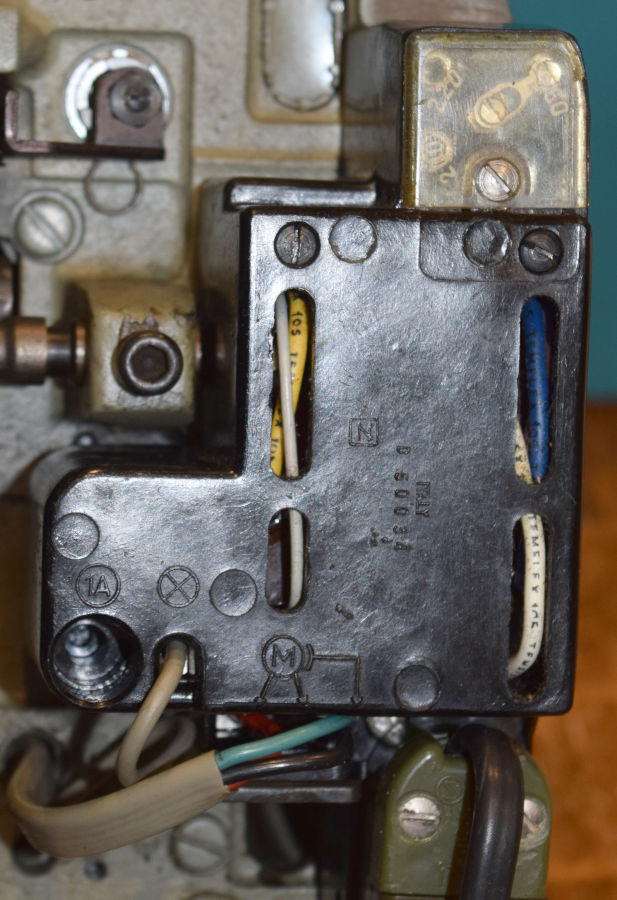
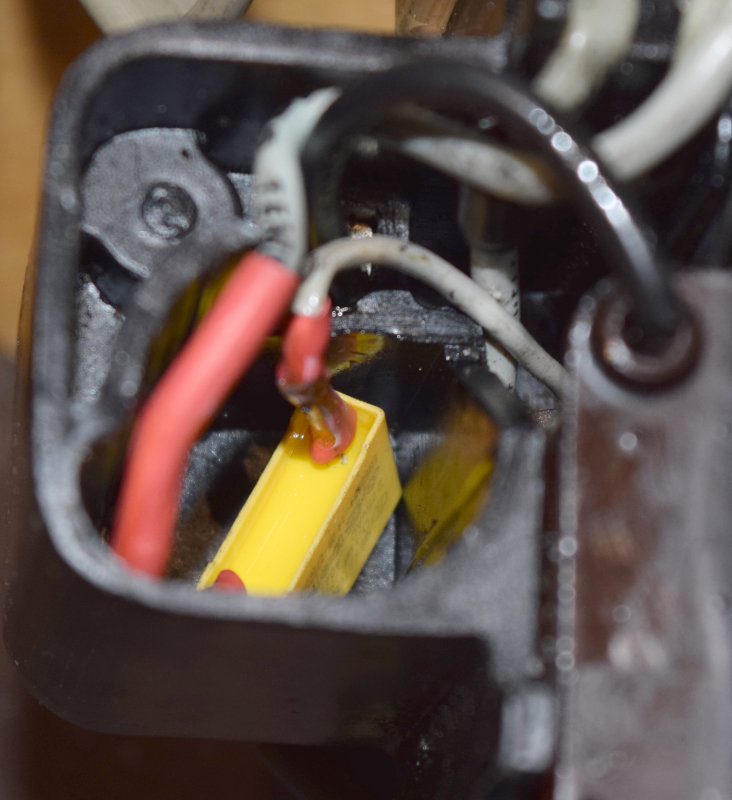
The capacitor should be replaced even if it hasn't failed. Capacitors suppress interference by reducing the amount of sparking between the brushes and the armature inside the motor. This has the added benefit of extending the life of the (carbon) brushes. Also, the interference doesn't only affect the AM radio spectrum. If it didn't, manufacturers wouldn't be required to put them in new sewing machines. Here is how to remove the power supply.
New capacitors are designed to last longer than originals, which lasted many decades and since they cost about $1 you will probably never need to do it again.
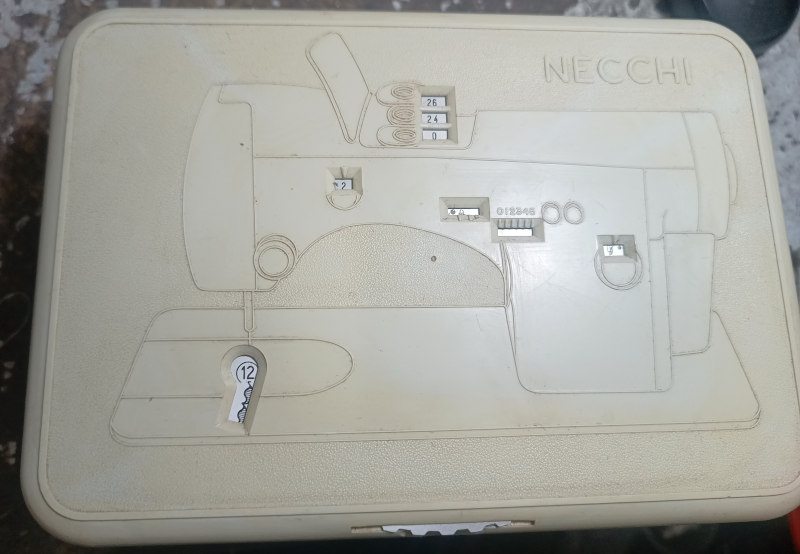
Here is the accessory box. It is plastic and has a large wheel incorporated to give you more information about the settings to use with the cams. The case is opened by un-clipping the front and lifting it off.
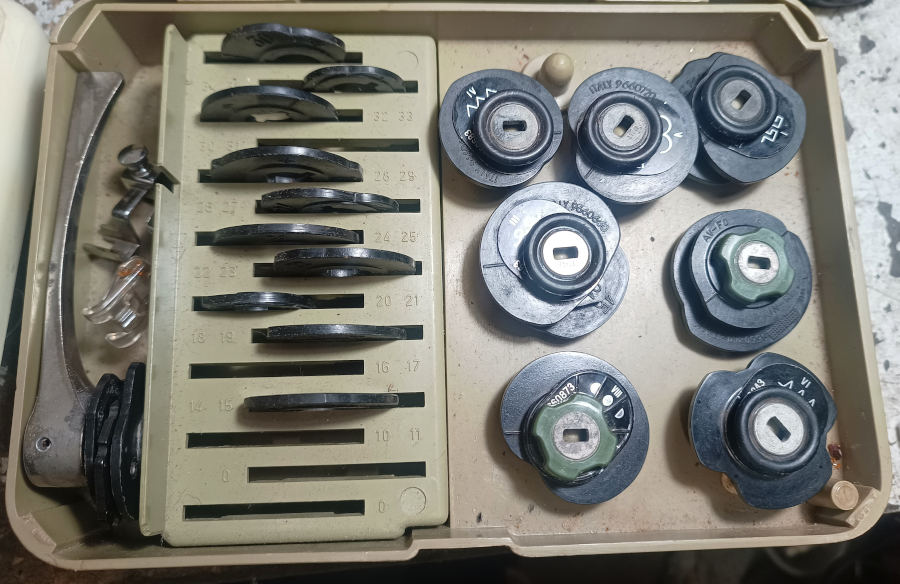
In the second photo you see the cams. The thing that looks like a bicycle brake lever is actually the buttonhole cam set, and it's sitting next to the buttonhole foot. The cams can clearly be seen at the bottom of the lever. The centre part is of additional cams. These can be mounted on a cam set that has a top that can be unscrewed. You can put the cams in and screw it together. The third section has the cam sets that come with the machine.
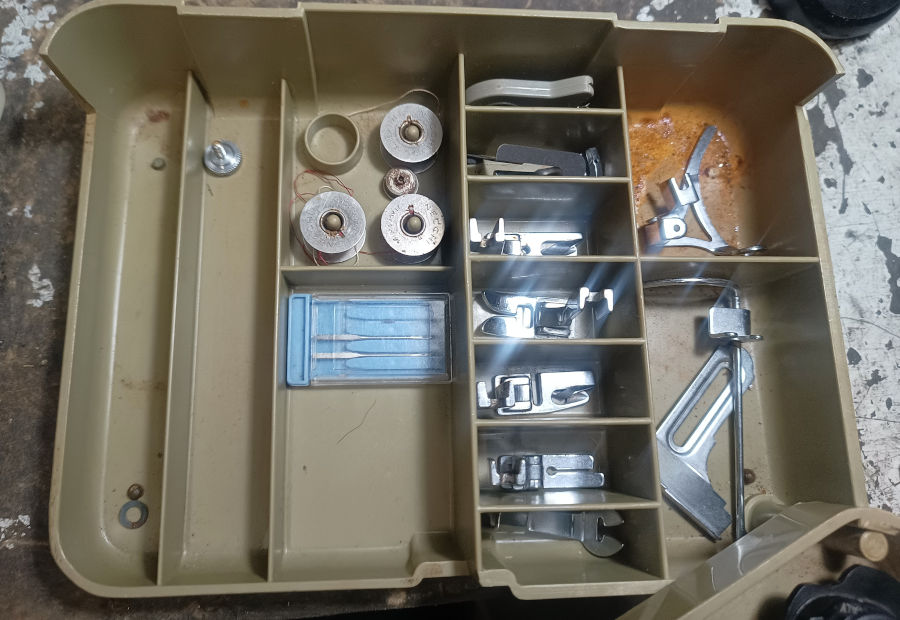
The third photo shows the bottom layer of the box. You get to it by swivelling the cam layer. This one is quite complete. It was inundated in the 2022 Brisbane flood which explains the rust on the top right section.
The Necchi Supernova accessory box is as brilliantly thought out as the rest of the machine. Everything is there to do practically any sewing job and there's no reason to not keep it together.
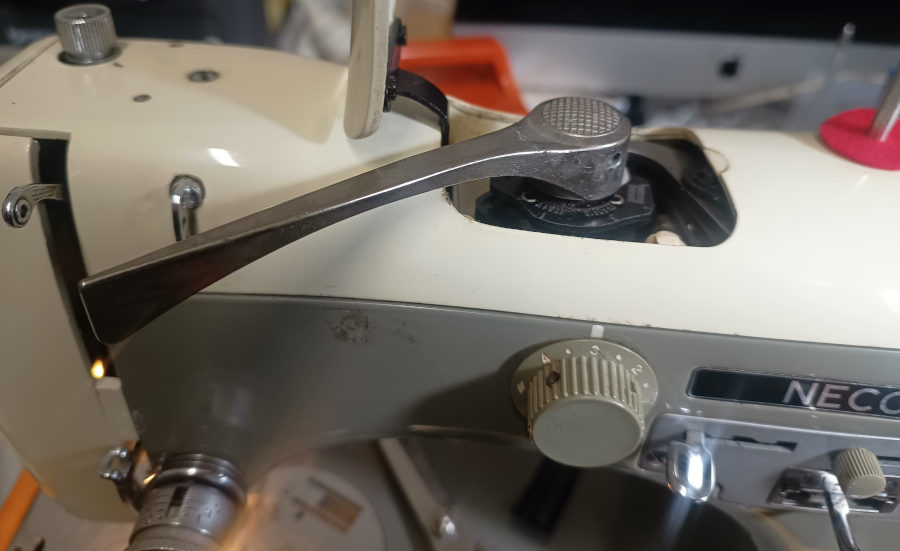
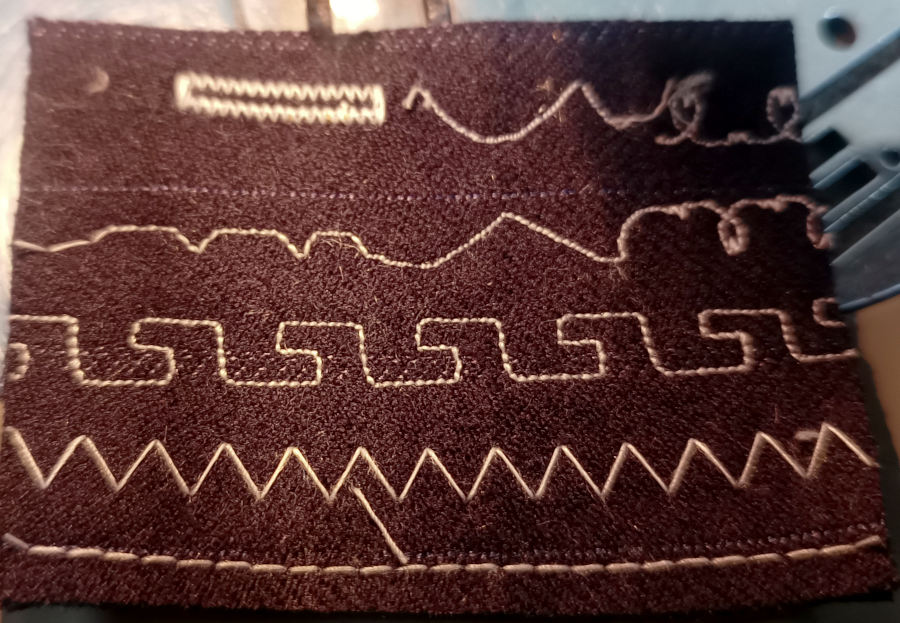
The buttonholer is a really great idea to make it easy to make a buttonhole automatically using the mechanical cams. It is strongly recommended that you mark out the postion of the buttonhole you want and do at least a couple of trial buttonholes before working on anything important. Here is how to use it:
Address: 392 Burwood Road, Hawthorn, Victoria, Australia
Phone: 0412 341 948
ABN: 78442037922